Last Updated on December 10, 2024 by Adil
Creating a double-sided flyer can be an effective way to deliver your message and grab attention. Whether for a business promotion, event advertisement, or community project, Canva provides an easy-to-use platform to design professional-quality flyers without the need for graphic design skills. In this article, we will walk you through the step-by-step process of How to make a double-sided flyer on Canva.
Step 1: Sign In or Create an Account
Before starting, make sure you have a Canva account. You can sign up for free if you don’t already have one. Canva offers both free and premium plans, but the free plan provides plenty of features to create beautiful double-sided flyers.
- Go to Canva Pro
- If you already have an account, click “Log In.” Otherwise, click “Sign Up” and create a new account using your email, Google, or Facebook account.
Once logged in, you’re ready to start designing.
Step 2: Start a New Project
To create a double-sided flyer, you’ll first need to choose the right dimensions and template.
Select Flyer Dimensions:
- On the Canva homepage, type “Flyer” into the search bar, and you will see various flyer templates.
- The standard size for a flyer is A5 (148 x 210 mm) or Letter (8.5 x 11 inches). Select your preferred dimensions or customize the size if needed.
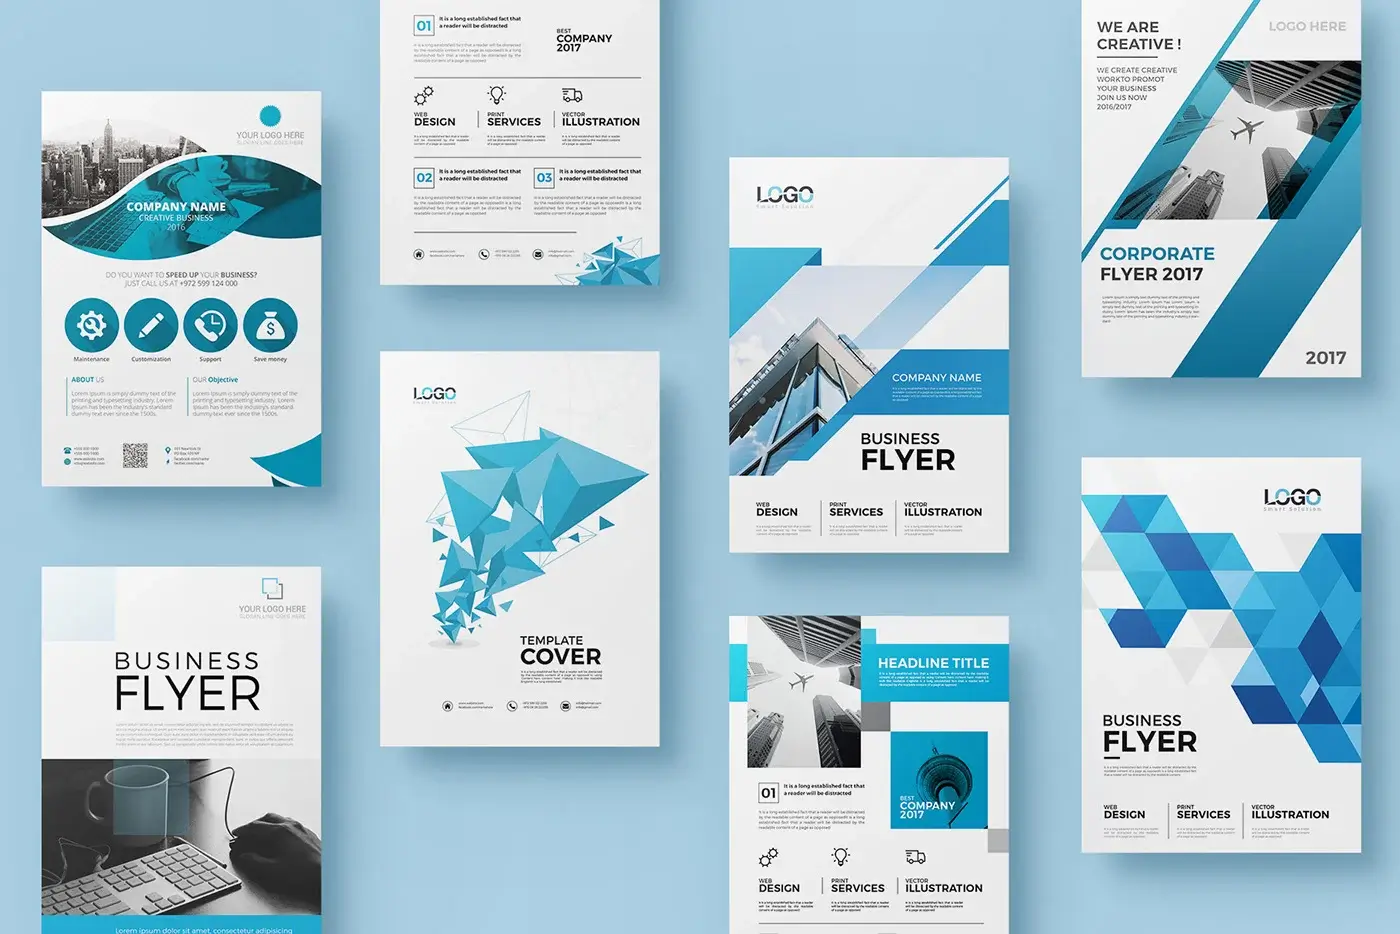
Choose a Template or Start from Scratch:
- Canva offers a wide variety of templates for flyers, including business flyers, event flyers, and promotional flyers. Choose a template that fits your needs or select a blank canvas if you prefer to design from scratch.
Step 3: Design the Front Side of the Flyer
Now it’s time to design the first side of your flyer. Here’s how:
1. Add a Background:
- In the left sidebar, click the “Background” tab to browse Canva’s background options. You can choose from solid colors, gradients, textures, or even upload your own image for a custom background.
- Alternatively, you can use images from Canva’s extensive library by clicking “Photos” and searching for relevant pictures.
2. Insert Text:
- To add text, click the “Text” tab on the left sidebar.
- Canva offers a variety of pre-designed text combinations, or you can click “Add a heading,” “Add a subheading,” or “Add a little bit of body text” to add custom text boxes.
- Use clear, readable fonts for your flyer. Canva has a wide range of fonts; choose one that aligns with your branding or theme.
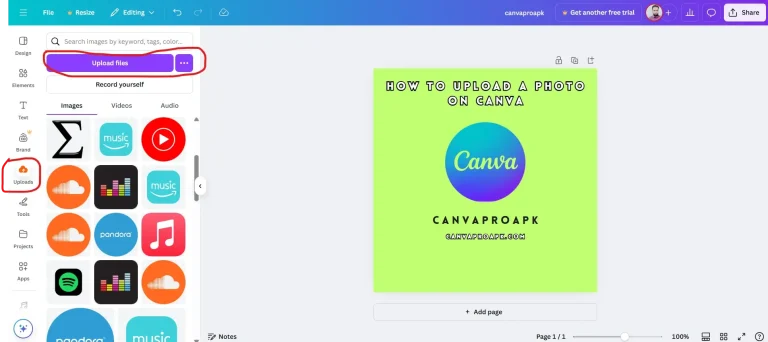
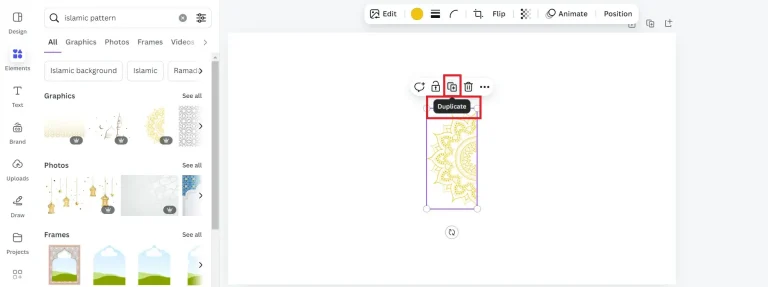
3. Add Images and Icons:
- You can upload your own images by clicking the “Uploads” tab and dragging your files into the editor.
- If you don’t have your own images, you can find free and paid images from Canva’s vast photo library under the “Photos” section.
- You can also use icons and illustrations from the “Elements” tab to make your flyer more visually appealing.
4. Adjust Layout and Spacing:
- Make sure your flyer isn’t too crowded. Keep the design balanced and ensure there’s enough white space.
- Canva allows you to adjust margins and align elements to create a clean and professional look. Use the “Position” tool to align your elements (e.g., center, top, bottom).
5. Preview and Save:
- Once you’re happy with the front side design, click on the “Preview” button to view how your flyer looks.
- If you’re satisfied, click “File” > “Save” to save your work. You can also download the file at this point, but it’s a good idea to finish the second side before exporting.
Step 4: Add the Second Side of the Flyer
Creating the second side of your flyer is just as easy as designing the front. Follow the same steps, but this time you’ll need to add a second page.
1. Add a New Page:
- On the right-hand side of your design page, you’ll see a button that says “Add a new page.” Click this to add a second page for the back of the flyer.
2. Design the Back Side:
- Use the same design elements (images, text, colors) to create consistency between the front and back. You can choose to make the back more informational (e.g., details of the event, contact information, etc.) or continue the design theme.
3. Balance the Content:
- Remember that the second side of your flyer should complement the first side. Use it to provide more detailed information, such as your company’s address, website, social media links, or call to action.
- Keep it simple and clean to avoid overwhelming your audience.
4. Add Finishing Touches:
- Just like the front side, make sure everything is properly aligned, and the design looks polished. Double-check spelling and grammar to ensure professionalism.
Step 5: Preview and Adjust
After completing both sides of the flyer, it’s important to preview your design one more time. Look at both pages in sequence to ensure the design flows and that all the elements are correctly aligned.
- Click on the “Preview” button at the top right corner of the screen.
- Scroll through each page of your flyer to check for consistency in design.
- Make any final adjustments, such as resizing text or adjusting the image placements.
Step 6: Download or Print Your Flyer
Once you’re satisfied with the design, it’s time to download or print your flyer.
1. Download Your Flyer:
- To download your flyer, click on the “Download” button in the top right corner of Canva.
- Choose your preferred file type. For printing purposes, PDF Print is recommended for high-quality prints.
- If you’re planning to share your flyer online, you can download it as a PNG or JPEG.
2. Print Your Flyer:
- Canva offers a printing service, so you can choose to have your flyers professionally printed directly from Canva by clicking the “Print Flyers” option.
- If you prefer to print your flyer yourself, make sure your design is in the correct format, and you have set the correct paper size for your printer.
Step 7: Tips for a Great Double-Sided Flyer
- Consistency: Keep fonts, colors, and design elements consistent on both sides of the flyer for a cohesive look.
- Whitespace: Don’t overcrowd your flyer. Use whitespace effectively to create a clean, organized design.
- Clear Call to Action: Ensure that your flyer includes a clear call to action, such as “Visit our website,” “Call for more details,” or “RSVP now.”
- High-Quality Images: Use high-resolution images to avoid pixelation, especially for printed flyers.
- Proofread: Always proofread your flyer before printing to catch any errors in the text.
Conclusion
Designing a double-sided flyer on Canva is an intuitive and creative process. By following these steps, you can easily create eye-catching, professional flyers that effectively convey your message. Whether you’re promoting a business, event, or cause, Canva provides all the tools you need to bring your ideas to life. Just remember to keep your design balanced, simple, and aligned with your branding for maximum impact.