Last Updated on October 30, 2024 by Adil
Introduction
Brochures are an excellent marketing tool for showcasing products, services, or event details in an organized manner. A 4-fold brochure (also known as an accordion or Z-fold brochure) offers additional space for content while maintaining a compact form. Canva, a popular online design tool, makes it simple to create eye-catching 4-fold brochures without needing advanced design skills. Here’s how to make 4 Fold Brochure in Canva from scratch.
Why Choose a 4-Fold Brochure?
Before diving into the steps, let’s understand why a 4-fold brochure is a good choice:
- Ample Space: With four panels, you can include more information without making the design feel cluttered.
- Compact & Portable: Despite the increased space, it maintains a manageable size when folded.
- Flexible Design: Great for detailed product catalogs, event schedules, and business portfolios.
Step-by-Step Guide to Making a 4-Fold Brochure in Canva
1. Sign Up or Log In to Canva
- Visit Canva and log in to your account.
- If you don’t have an account, sign up using your email, Google, or Facebook.
2. Create a New Design
- On the homepage, click on the “Create a design” button.
- In the search bar, type “Brochure” and select it from the drop-down options. This will display various brochure templates.
- To customize the dimensions, click on the “Custom size” button and set it to 11 x 17 inches or 8.5 x 14 inches, depending on the brochure size you prefer.
3. Set Up a Grid Layout
- Once the blank canvas opens, set up your 4-fold structure using grids.
- Go to the “Elements” tab on the left sidebar and search for “Grid.”
- Select a 4-column grid to divide your design into four equal parts, simulating a 4-fold brochure.
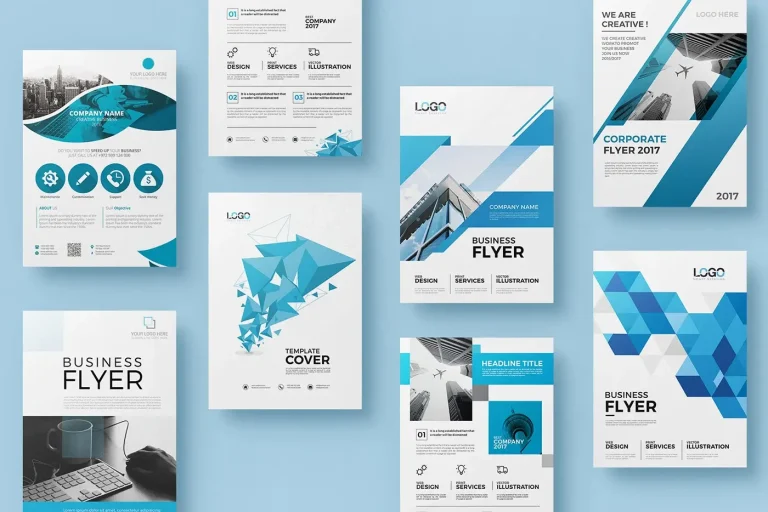
4. Choose a Template or Start from Scratch
- Canva offers a wide variety of brochure templates that you can adapt for a 4-fold design.
- If you find a suitable template, click to apply it to your canvas.
- If you prefer to create your own design, start adding background colors, images, and text blocks manually.
5. Add Background and Images
- Go to the “Photos” tab to search for images or upload your own.
- Drag and drop images onto your design.
- Adjust the image placement to align with the grid structure.
- For backgrounds, use solid colors, gradients, or patterned images that align with your brand’s color scheme.
6. Insert Text & Adjust Typography
- Click on the “Text” option in the sidebar and select “Add a heading,” “Add a subheading,” or “Add a body text.”
- Insert relevant information like your brand name, contact details, product descriptions, or event highlights.
- Adjust the font style, size, and color to maintain readability while aligning with the brochure’s design theme.
7. Organize the Content on Each Fold
- First Fold: This is your cover page. Keep it visually attractive with the brand logo, headline, and an image that sets the tone for the brochure.
- Second & Third Folds: These folds are for detailed information, such as product descriptions, event schedules, or services offered. Break the text into bullet points or short paragraphs for easy readability.
- Fourth Fold: Use this space for additional details like contact information, website links, or a call to action (e.g., “Visit our website” or “Contact us for more information”).
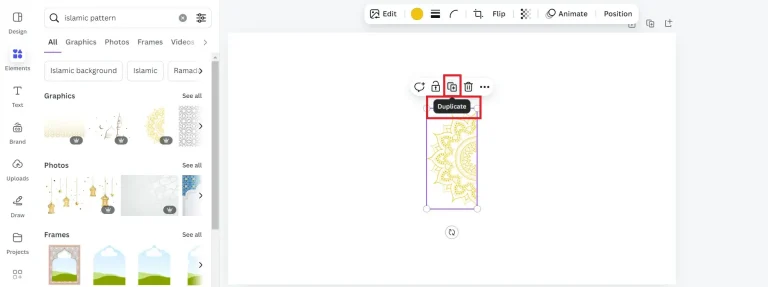
8. Add Icons and Illustrations
- To make the brochure visually engaging, add icons and illustrations from Canva’s “Elements” library.
- Search for icons that match your content (e.g., phone icons for contact details, location pins for addresses).
- Keep illustrations consistent in style and color to maintain design harmony.
9. Proofread and Revise
- Review the entire design for typos, alignment issues, and overall flow.
- Check for consistency in font sizes, color schemes, and image placements across all folds.
- Ensure that important information like contact details is clear and visible.
10. Save and Download the Brochure
- Once you’re satisfied with the design, click the “Share” button in the top right corner.
- Select “Download,” choose “PDF Print” for the best print quality, and hit “Download.”
- If you plan to share it digitally, you can choose “PDF Standard” or “JPEG/PNG” formats.
11. Print and Fold Your Brochure
- Print the brochure on a high-quality printer.
- To create the 4-fold effect, fold the printed paper into four sections, ensuring the folds are neat and aligned.
Tips for Creating an Effective 4-Fold Brochure
- Use High-Resolution Images: Ensure all images used are of high resolution to maintain quality when printed.
- Keep the Design Clean: Avoid overcrowding the design. Use white space effectively for a more professional look.
- Focus on Key Messages: Highlight essential information, using bold text, bullet points, or different colors to draw attention.
- Include a Call to Action: Make sure to include a strong call to action, prompting the reader to engage further.
Conclusion
Designing a 4-fold brochure in Canva is straightforward and fun. By following these steps, you can create an impressive and informative marketing tool for your brand, event, or business. Get creative and let Canva’s design tools help you craft a professional-looking brochure that leaves a lasting impression.